Please follow the steps below to configure outgoing mail in CrintellTech Recruitment Assist.
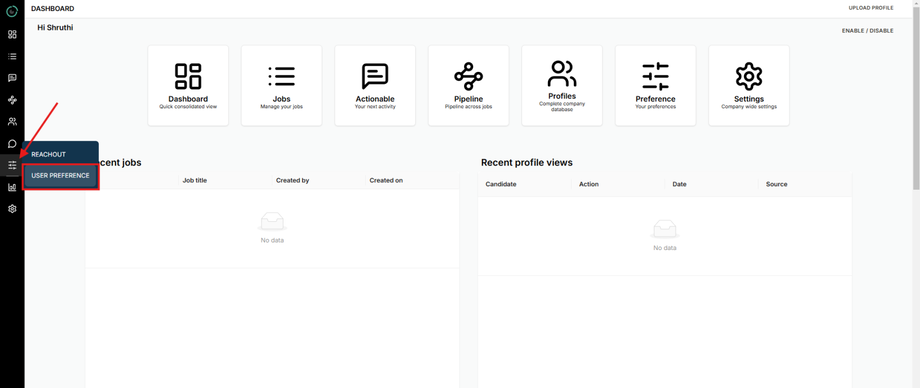
Step 1: Go to "Your Preferences" in your Recruitment Assist Dashboard.
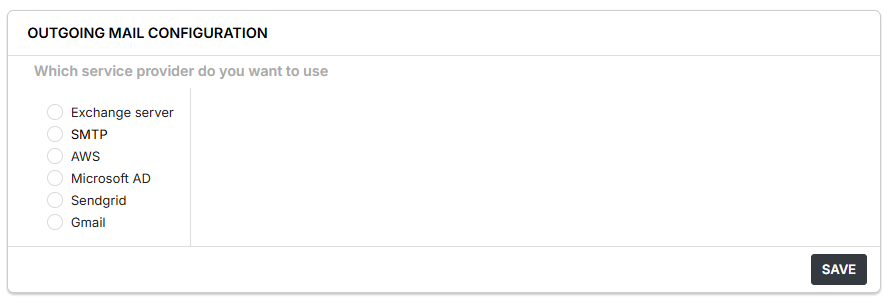
Step 2: On the "Your Preferences" user settings page, locate the "Outgoing Mail Configuration" section. Enter your mailbox credentials based on the selected option:
Exchange Server
-
Provide your official email ID and password.
-
Enter the Exchange Mail URL: https://outlook.office365.com/EWS/Exchange.asmx
SMTP
Enter your name, official email ID and password.
Important Note:
- Do not modify the PORT and HOST fields.
- If the Email and Password fields autofill, completely delete them and manually enter your mailbox email ID and password.
AWS
- Enter your official email ID and click "Verify."
-
A confirmation email will be sent from Amazon SES.
-
Click on the verification link in your inbox.
-
Return to the CrintellTech Outgoing Mail Configuration window and click "Verify & Confirm."
Microsoft AD
- Click "Microsoft Login"
- You will be redirected to the Microsoft sign-in page. Enter your official Outlook email ID and password.
SendGrid
Enter your official email ID and click "Save"
Note: This configuration works only if the domain is verified by the IT team.
Gmail
- Click "Sign in with Google" to authenticate.
- Enter your Google account credentials and accept the permissions by clicking "Continue."
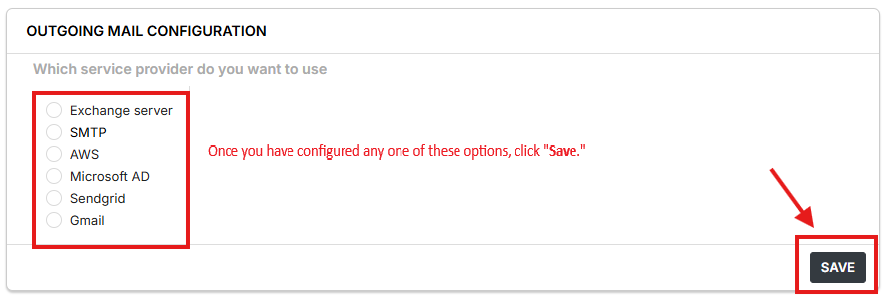
Step 3: Once you have configured any one of these options, click "Save."


